Recreate Childhood Fruit Roll-Ups: Simple Homemade Recipe
Few snacks evoke the pure joy and carefree spirit of childhood quite like a vibrant, chewy fruit roll-up. That burst of fruity flavor and the satisfying tear of a thin, pliable strip are nostalgic memories for many. But what if we told you that recapturing that magic, with wholesome ingredients and no artificial additives, is not only possible but incredibly easy? Get ready to discover the ultimate fruit leather recipe that lets you recreate your favorite childhood treat right in your own kitchen. This isn't just about making a snack; it's about making a memory.Why Make Your Own Fruit Leather? The Benefits of Homemade
Venturing into homemade fruit leather opens up a world of advantages beyond simple nostalgia. It’s a smart choice for your pantry, your health, and even your wallet.- Unbeatable Health Benefits: Store-bought fruit snacks often come loaded with high fructose corn syrup, artificial colors, and preservatives. When you make your own, you control every single ingredient, ensuring your fruit leather is packed with natural fruit goodness, often with no added sugar. It's a fantastic way to boost your daily fruit intake without even realizing it!
- Budget-Friendly Snacking: Commercial fruit leathers can be surprisingly expensive, especially for organic or "natural" versions. Making them at home, particularly when fruit is in season and abundant, drastically cuts down on costs. You can transform a bulk purchase or garden harvest into weeks of delicious snacks.
- Ultimate Customization: The beauty of a homemade fruit leather recipe lies in its flexibility. Don't like strawberries? Try mango and pineapple! Want a hint of spice? Add a pinch of cinnamon or vanilla extract to your purée. You're the chef, so tailor the flavors and sweetness to your exact preference.
- A Smart Way to Preserve Fruit: If you're an avid gardener or frequently find yourself with an abundance of seasonal produce – from berries to stone fruits – fruit leather is an ingenious way to preserve that bounty. It's less labor-intensive than canning and offers a delightful, shelf-stable snack. For more tips on making the most of your harvest, check out our guide on Preserve Excess Fruit: Make Homemade Leather with No Artificials.
- Fun for the Whole Family: The process is simple enough that even younger family members can get involved, from washing fruit to spreading the purée. It's a great opportunity to teach kids about healthy eating and the joy of creating something from scratch.
Essential Ingredients for Your Homemade Fruit Leather Recipe
The beauty of this fruit leather recipe is its simplicity, often requiring just one or two core ingredients.The Star: Your Choice of Fruit
Almost any fruit can be transformed into delicious fruit leather. The key is to use ripe, flavorful fruit, as this is where all the natural sweetness and tang will come from. Here are some popular and highly recommended options:
- Berries: Strawberries, blueberries, blackberries, and raspberries all work wonderfully. They break down easily and offer vibrant flavors. Fresh or frozen berries are both excellent choices.
- Apples and Pears: These fruits are excellent for providing pectin, a natural gelling agent that helps fruit leather set. Incorporating a chopped apple or pear, especially with lower-pectin fruits like berries, can improve texture.
- Stone Fruits: Plums, peaches, and apricots yield deliciously rich leathers. Just remember to pit them!
- Tropical Fruits: Mango, pineapple, and kiwi offer exotic, sweet-tart flavors. Pineapple, in particular, has enzymes that can make the leather a bit more delicate, but still delicious.
For this article, we’ll focus on a classic berry and apple combination, but feel free to experiment!
Optional Enhancers
- Lemon Juice: A squeeze of fresh lemon juice serves multiple purposes. It brightens the fruit's natural flavor, acts as a mild natural preservative, and can help prevent browning, especially with lighter-colored fruits.
- Sweeteners: While ripe fruit often provides enough sweetness, you can add a touch of natural sweetener if your fruit is particularly tart or if you prefer a sweeter snack. Honey, maple syrup, or a small amount of sugar can be used. Add it to taste after puréeing.
- Spices/Extracts: A dash of cinnamon, a pinch of nutmeg, or a few drops of vanilla extract can add another layer of flavor, particularly with apple or pear leathers.
Step-by-Step Guide: Your Simple Fruit Leather Recipe in the Oven
Ready to dive in? Here’s a comprehensive guide to making delectable homemade fruit leather using your oven.1. Prepare and Cook Your Fruit
This initial step helps break down the fruit, making it easier to purée and ensuring a smooth, consistent texture for your fruit leather.
- Start with about 400g of fruit (e.g., strawberries or blackberries, fresh or frozen, stalks removed) and 1 dessert apple (cored and cut into chunks). This combination works beautifully for flavor and texture.
- Place the prepared fruit into a medium saucepan. You typically won't need to add any water, especially if using frozen fruit, as moisture will release as it thaws and heats.
- Set the pan over a low to medium-low heat. Cook gently, stirring occasionally, until the fruit softens, the berries begin to break down, and the apple chunks are tender. Covering the pan can help steam the fruit and speed up the softening process. This usually takes about 10-15 minutes.
2. Purée and Strain for Smoothness
Achieving a silky-smooth purée is crucial for a pleasant fruit leather texture.
- Remove the saucepan from the heat.
- Using an immersion blender directly in the pan, or by carefully transferring the fruit to a food processor, blend the cooked fruit until it forms a completely smooth purée.
- Optional but Recommended for a Refined Texture: For an extra-smooth fruit leather free of seeds and tough bits of skin, press the purée through a fine-mesh sieve into a clean bowl or back into the saucepan. Use the back of a spoon or a spatula to push as much of the fruit pulp through as possible, leaving behind any undesirable solids.
- If using, stir in 1 tablespoon of lemon juice now, and taste the purée. If your fruit isn't sweet enough, you can add a tablespoon or two of honey, maple syrup, or sugar at this stage.
3. Thicken the Purée (Optional, but Speeds Drying)
Reducing some of the moisture upfront significantly shortens the drying time in the oven.
- Place the puréed fruit back into the clean saucepan (if you strained it into a bowl).
- Heat on a low setting, stirring frequently, until the purée visibly thickens. You'll know it's ready when you can draw a spoon through the purée and it leaves a clear path on the bottom of the pan for a few seconds before the fruit slowly flows back together. This step can take 10-20 minutes, depending on the fruit's initial water content.
4. Prepare for Drying
Proper preparation of your baking sheet is key to easy removal of your finished fruit leather.
- Preheat your oven to its absolute lowest setting. This is typically between 150-170°F (65-75°C). The goal is to dehydrate, not bake, the fruit.
- Line a large baking sheet with parchment paper or a reusable silicone baking mat. Ensure the parchment paper extends slightly over the edges, which will make it easier to lift out the finished leather.
- Pour the thickened fruit purée onto the lined baking sheet. Using an offset spatula or the back of a spoon, spread the purée out into a thin, even layer. Aim for about 1/8 to 1/4 inch (3-6mm) thickness. Consistency is crucial for even drying – if some parts are thicker than others, they will take longer to dry, and thinner parts might become brittle. The purée should look opaque.
5. Dehydrate in the Oven
Patience is a virtue in this step, but the results are well worth it!
- Carefully place the baking sheet with the purée into your preheated oven.
- Dehydrate for approximately 4 to 8 hours. The exact time will vary based on your oven's temperature, the thickness of your purée, and the moisture content of your fruit. You might need to prop the oven door slightly ajar with a wooden spoon to allow moisture to escape, especially if your oven doesn't have a good vent system.
- Check the fruit leather periodically. It's done when the surface is no longer tacky to the touch, and the entire sheet feels pliable and leathery. It should peel away from the parchment paper without sticking. If it's still sticky in spots, continue drying. Be careful not to over-dry, or it will become brittle and crack.
For a deeper dive into oven dehydration techniques, see our article on How to Make Easy Homemade Fruit Leather in Your Oven.
6. Cool, Cut, and Store
The final steps transform your dehydrated fruit sheet into convenient, delicious snacks.
- Once fully dried, remove the baking sheet from the oven and let the fruit leather cool completely on the pan. This allows it to firm up further.
- Once cool, gently peel the fruit leather off the parchment paper. If you used parchment, you can leave it attached and simply roll the fruit leather up with the paper inside.
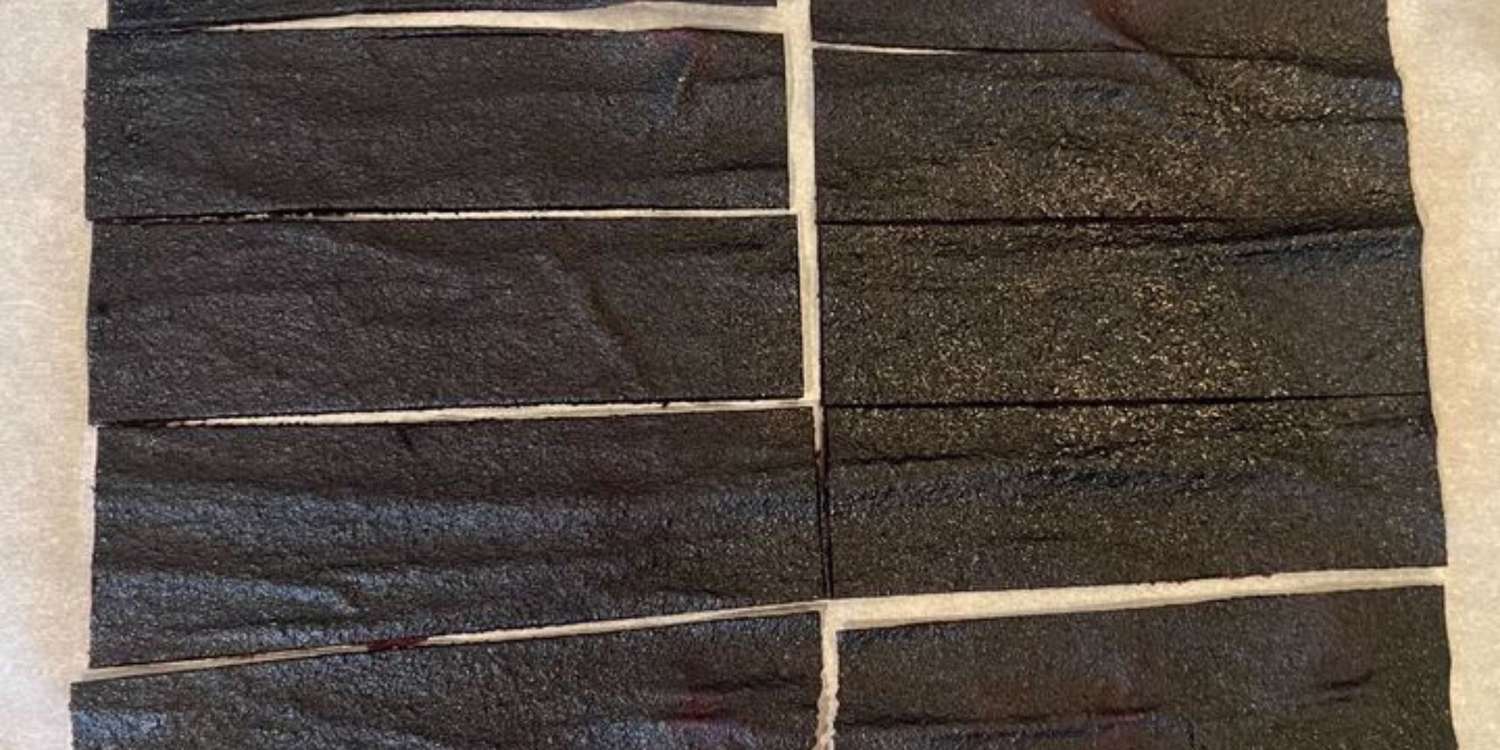
- Using a sharp knife or a pizza cutter, slice the fruit leather into strips, squares, or any desired shape.
- To store, roll individual strips with parchment paper (if not already attached) to prevent them from sticking together. Place the rolls in an airtight container or zip-top bag. Store at room temperature for up to 2-3 weeks, or in the refrigerator for longer freshness.
Pro Tips for Perfect Fruit Leather Every Time
Achieving fruit leather perfection is easy with a few insider tricks:- Choose Ripe Fruit: The sweeter and more flavorful your fruit is, the better your fruit leather will taste. Overly ripe fruit that might be too soft for fresh eating is perfect for puréeing.
- Don't Rush the Cooking: Allowing the fruit to properly soften and break down before blending ensures a smoother purée and helps release natural sugars.
- Even Spreading is Key: Inconsistent thickness will lead to uneven drying. Take your time to spread the purée uniformly across the baking sheet for consistent results.
- Monitor Your Oven: Ovens can vary wildly in temperature, especially at low settings. An oven thermometer can be a great tool to ensure you're maintaining the correct dehydrating temperature.
- Patience During Drying: Resist the urge to crank up the heat to speed things along. Low and slow is the mantra for fruit leather, preventing it from baking instead of dehydrating.
- Experiment with Blends: Don't be afraid to mix different fruits! A combination of sweet and tart fruits often yields the most balanced flavor.
